Gas Tightness Testing
What's involved?
6/27/20232 min read


Gas safety is of paramount importance in any household or commercial setting. To ensure the safety and well-being of occupants, gas engineers perform various tests and inspections. One such critical test is the gas tightness test. In this blog post, we will delve into the process of how a gas engineer carries out a gas tightness test in England, highlighting the essential steps and emphasizing the importance of this procedure.
Step 1: Preparing for the Test Before commencing the gas tightness test, a gas engineer must ensure they have the necessary equipment, including a manometer, a suitable pressure gauge, and the required connectors. Additionally, they need to wear appropriate personal protective equipment (PPE) to guarantee their own safety during the testing process.
Step 2: Isolating the Gas Supply The gas engineer initiates the gas tightness test by isolating the gas supply to the property or specific section being tested. This involves shutting off the gas meter and ensuring that no gas appliances are operating during the procedure. Isolating the gas supply ensures accurate readings and prevents any potential hazards during the testing process.
Step 3: Pressure Drop Test Once the gas supply is isolated, the gas engineer proceeds with the pressure drop test. In this step, the gas engineer connects the manometer or pressure gauge to the gas installation pipework and/or gas meter and checks the initial pressure reading. An initial test of let-by to make sure the ECV is working correctly should commence.
Step 4: Closing Off the System After noting the initial pressure reading, the gas engineer then closes off the gas system by shutting all gas taps, valves, and appliances within the property. This ensures that no gas is escaping and allows for accurate monitoring of the pressure changes within the system.
Step 5: Monitoring Pressure Levels With the system closed off, the gas engineer carefully monitors the pressure levels on the manometer or pressure gauge over a specific period. The duration of this observation period typically varies depending on the installation volume and complexity of the gas installation. The engineer ensures that the pressure remains stable within the acceptable range, indicating a gas-tight system.
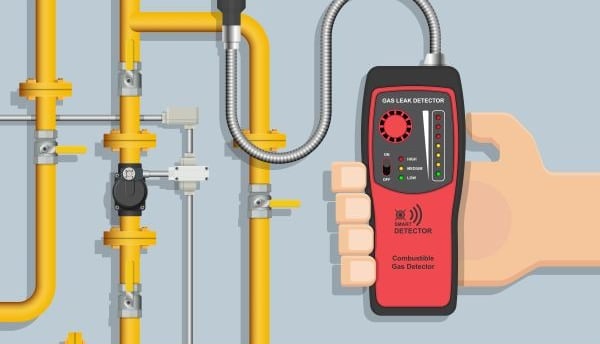
Step 6: Identifying and Rectifying Leaks If the pressure drops significantly during the observation period, it indicates the presence of a leak within the gas system. The gas engineer's expertise comes into play as they proceed to locate the source of the leak by using a gas leak detector, soapy water, or other specialized equipment. Once the leak is identified, appropriate repairs or remedial actions are undertaken to rectify the issue promptly and restore the gas-tight integrity of the system.
Step 7: Final Verification After addressing any leaks and completing the necessary repairs, the gas engineer retests the gas system to ensure its integrity. This involves repeating the pressure drop test and confirming that the pressure remains stable within the acceptable range. If the system passes this final verification, it is deemed gas-tight, ensuring the safety of the occupants.
Conclusion: Gas tightness testing is a critical procedure carried out by gas engineers to ensure the safety and integrity of gas installations in England. By following a systematic process of pressure monitoring, leak detection, and repairs, gas engineers play a vital role in identifying and rectifying any potential hazards associated with gas leaks. Through their expertise and adherence to stringent safety standards, gas engineers help create a safer living and working environment for all.
